Making it Dynamic
In this lesson, we'll start making our emoji translator application! Eventually, the user will be able to "encrypt" messages using an emoji key, so that users can pass secret messages to each other. The final product will look something like this:
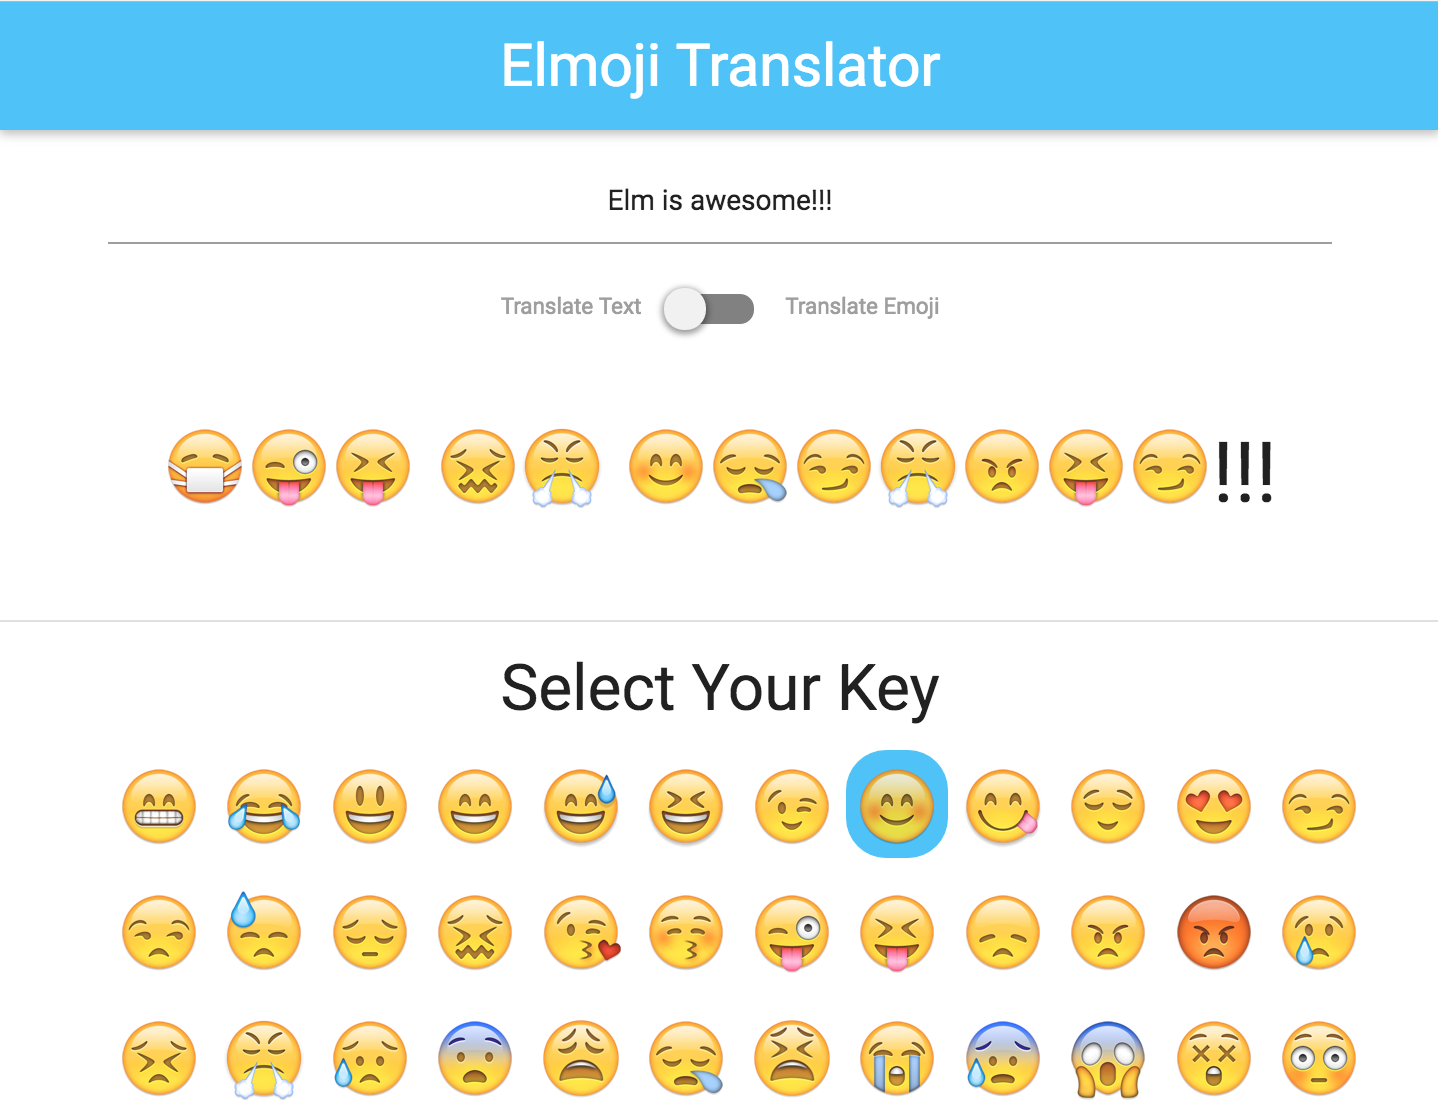
We need to walk before we run, though! First, we'll make an application that simply consumes text input provided by the user and displays it back to the page.
Goals
- Download and run the Skeleton Elmoji app.
- Understand how to use Elm to make things change on the page.
Steps
Skeleton Setup
Download the Skeleton app here: https://github.com/elmbridge/elmoji-translator/releases/tag/release-8 and navigate to the downloaded folder. Start elm reactor in your terminal:
elm reactor
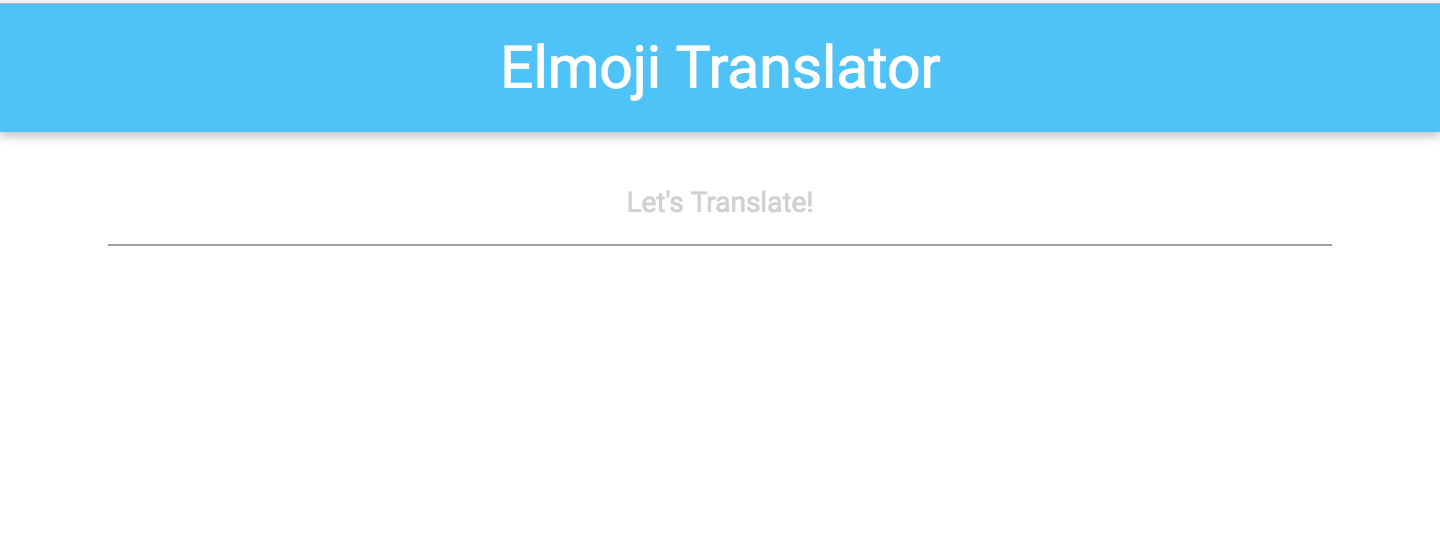
And then go to http://localhost:8000/Part1.elm in your web browser. You should now have a fully functional Elm application running in your browser! It should look like this:
Updating the Model
As you may have already noticed, however, this Elm application doesn't do anything. While you can enter text on the page, the application seems to ignore it.
Our goal is to make the text that the user enters display back to them, like this:
As we learned in the last lesson, every Elm application is built upon the model, view, and update triad. This app is no different – in order to implement this feature, we may need to change all three.
First, let's take a look at the model:
type alias Model =
    { currentText : String }
For this application, the model is a record that contains a currentText field that must be a string. That's perfect for our feature — as a user inputs text into the application, we'll update the currentText field, and reflect its new value to the UI.
Let's verify that user text input is mapped to a message. First, let's look at our view. Let's zoom in on the code for input field.
Html.input
  [ Html.Attributes.type_ "text"
  , Html.Attributes.class "center"
  , Html.Attributes.placeholder "Let's Translate!"
  , Html.Events.onInput SetCurrentText
  ]
  []
It's worth taking a moment to discuss the API for the Html module. Almost all functions in this module have the same structure — they consume a list of HTML attributes (like class, id, display, etc.) as well as a list of child elements that are nested inside them.
While the API is somewhat verbose, much of its contents are probably familiar to you. In this case, the code is generating an input element with a type of text and a class of center and some placeholder text. The resulting HTML looks like this:
<input type="text" class="center" placeholder="Let's Translate!">
The final attribute comes from the Html.Events module, which describes which update message is sent when the element hears an input event. In this case, a message called SetCurrentText is sent, along with the element's current text. (SetCurrentText String is actually a tagged value — don't worry, we'll cover that in a future lesson!)
This is great! When this message is sent, we can update our model with the new value. To do that, let's check out the update function:
update msg model =
    case msg of
        SetCurrentText newText ->
            -- currently, this does nothing!
            model
Whenever an update message is sent, the update function consumes the sent message, the current model, and returns a new model to render. Currently, the SetCurrentText message is handled by this function, but the function simply returns the old model.
Let's change that. Instead, we should have the update function update the model's currentText value whenever the message SetCurrentText is sent. Let's use record update syntax to do so:
update msg model =
    case msg of
        SetCurrentText newText ->
          { model | currentText = newText }
Once you've made the change, go back to your web browser (to http://localhost:8000/Part1.elm), refresh the page, and elm reactor will recompile your application.
If there are any errors from the compiler, elm reactor will show them to you. If there aren't any errors, you will see the updated application!
Adding to the View
Great, so we're now updating the model every time the user inputs text into our application. However, that's only half the battle — we still need to display the application's currentText back to the user!
Thankfully, the skeleton already includes some styling for us. All we need to do is add code to our view function to display a paragraph tag right after our input tag, with the model's currentText as its value. The resulting HTML should look like this:
<p class="center output-text emoji-size">It's happening!!!</p>
In Elm, the code to generate that HTML would look like this:
Html.p
    [ Html.Attributes.class "center output-text emoji-size" ]
    [ Html.text "It's happening!" ]
Note: Html.text is a special kind of Html function, that produces a plain-text node. In this case, we've built a paragraph element with a nested child element that is simply plain text.
Insert the above code into the view function, as a list element after the div with a class of .input-field. Once you think you have it, recompile your code to see if it worked.
Displaying Model Values
We don't want the text to always be It's happening!, though. Instead, the text of the paragraph node should reflect the currentText of the current model. As the model changes, this paragraph node should change as well.
You'll notice that the view function consumes a model. This model represents the current state of the application. So if we use record getter syntax, we can pull the currentText value out of the model and use it, like this:
Html.p
    [ Html.Attributes.class "center output-text emoji-size" ]
    [ Html.text model.currentText ]
Recompile your code, and you should have a fully functional, dynamic application!